

How To Make A Wooden Sink
Learn everything you demand to know to brand gorgeous DIY wood signs including the all-time materials to utilize, easy means to get perfect lettering, and how to frame your sign.
I take shared dozens of DIY wood signs hither over the years and there are even more that never made it to the blog. In fact I used to take an etsy shop where I sold handmade wooden signs.
Merely with all of the signs I've fabricated, somehow I haven't ever shared a consummate start-to-terminate tutorial with all of my all-time tips and tricks for making cute DIY wood signs. Then today I am sharing how to make a fabulous forest sign, including four ways to letter a sign perfectly and how to build a elementary wood frame.
And in case you are wondering, you absolutely practise not have to ain a Cricuit or Silhouette or other cut car to make professional-looking signs. All you really need are a few inexpensive supplies and a scrap of know-how.

This mail service contains affiliate links; see my full disclosure here. This sign design and files are to be used for personal employ only – not for commercial purposes or resale.
Materials
The materials you demand will depend somewhat on which sign-painting method you choose, but this list will get you lot started.
- wood sign base – I like to make signs from apparently 3/4″ birch plywood. You can purchase this pretty inexpensively at your local habitation improvement store. Craft stores also sell lots of pre-cut blank signs in all kinds of styles and sizes.
- paint for the background of your sign – Any paint will piece of work for this including pocket-sized craft paints, paint samples, and chalk pigment.
- small cream paint roller or a paintbrush – These are my favorite paintbrushes.
- stencil or a printout of your sign blueprint
- Sharpie oil-based pigment pens – These are one of my elevation tricks for making beautiful signs.
- 1″x2″ pine boards for making the wood frame
- woods stain for the frame
Tools
- hammer and finishing nails or a brad nailer
- miter saw or other saw for cutting woods frame pieces to size
How to make wooden signs
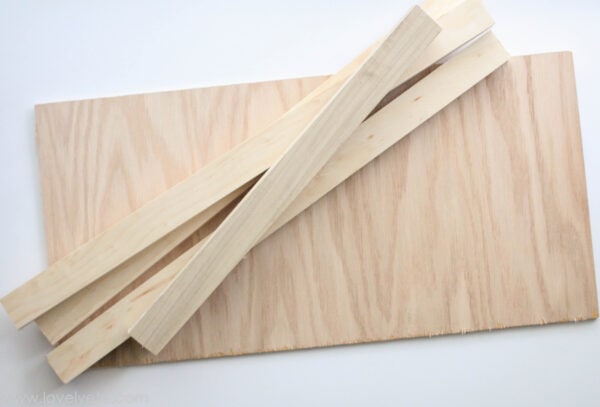
Choose your wood
My favorite sign-making material is bones birch plywood. It'due south inexpensive, has a shine surface, and tin can be cut to any size you want. Y'all can buy birch plywood in 2'x2′ and 2'x4′ sheets at most abode improvement stores.
If yous desire to make a smaller sign, you tin unremarkably take your plywood cutting to a smaller size while you are in the shop or you tin can do information technology yourself at home with a circular saw or table saw.
Information technology may be actually tempting to use thin i/4″ plywood for making signs. I used to practise this all the time because it was cheaper and nobody would be able to see how thick it was anyway.
Larn from my mistakes – don't practice it! The thin plywood warps very easily over time and is also very difficult to attach a frame to. I highly recommend simply using 3/4″ plywood for making wood signs.
If you don't want to deal with cutting plywood, at that place are also all kinds of really beautiful blank signs you lot can purchase at craft stores. You can buy planked signs, framed signs, even signs in special shapes. I've linked some of my favorite styles below if you want to get that route.
Blank Sign Options

Paint your sign
In one case y'all've called the wood you lot are using for your sign, the next footstep is to paint it.
White is definitely the almost pop color for painted signs, but you can employ any colour yous want. I've fabricated quite a few signs with colorful backgrounds that I really dear. You can also stain your sign instead of painting if you lot prefer.
A good paintbrush works just fine for painting signs or, if you are making a larger sign, you can employ a small foam paint roller to speed things forth.
Lettering your sign
The next step is to add the pattern to your sign. There are four main methods for lettering a wooden sign.
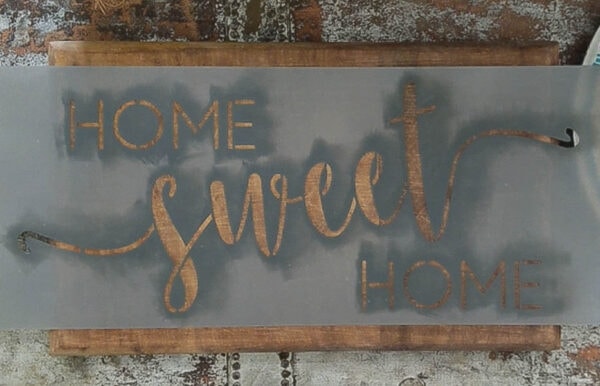
Stenciling a sign
One of the easiest ways to alphabetic character a gorgeous sign is to use a stencil. Stencils are great considering anyone can get beautiful results fifty-fifty if you accept terrible handwriting.
Stencils also eliminate the need to figure out a peachy proverb and design for your sign because they come already designed and ready for sign-making.
home sweet home stencil
If you lot choose to stencil your sign, I have a postal service all nigh how to perfectly stencil wood signs and another post all about the different types of stencils for wood signs .
And I'm sharing some of my favorite stencils for wood signs below. Some of these stencil designs are really fantastic.
Favorite Stencils for Signs
Using a printed blueprint for a sign
My personal favorite method is to print out a blueprint and transfer it onto your sign. I dear this method considering you have complete design control – your sign tin say anything y'all want in any font y'all similar.
Y'all can design exactly what you lot want your sign to look like on your figurer using Canva , PicMonkey ,or fifty-fifty Microsoft Word.
![]()

Then print it out and transfer it to your sign using a elementary pencil transfer technique. I take step-by-step instructions for doing a pencil transfer if you've never done information technology before. It really is incredibly piece of cake and requires zippo design skill.
Making a sign with a vinyl cut motorcar
In the past few years, Silhouettes and Cricuits have become very popular for sign-making. Both machines can cut designs out of agglutinative vinyl that make for easy sign-making.
You can design your own sign or purchase one of the hundreds of designs available on Etsy , cut out the blueprint with your Silhouette or Cricuit, and so apply the vinyl letters similarly to how a stencil is used.
I don't typically use a cutting car for sign-making, merely Laura from the Turquoise Home has a swell vinyl sign-making tutorial here .
Hand-lettering a sign
You tin likewise mitt-letter your sign if you have great handwriting. I would recommend using a pencil to draw the initial letters so you can erase whatsoever mistakes.
Paint your lettering
When you are transferring a blueprint or hand-lettering, the accented best 'paint' to use for painting the lettering on DIY signs is Sharpie oil-based paint pens . A paint pen also makes for easy stenciling merely if you are making a vinyl sign, the process is a chip different.
If you have used paint pens before, you probably have realized that non all paint pens are equal. Some are a downright mess to try to use. I love the Sharpie oil-based ones because they write smoothly, have good coverage, and write well on both stained and painted forest. They aren't perfect, just they piece of work and so much improve than whatsoever other pigment pens I have tried – especially if you lot are doing white lettering.
And using a paint pen is well-nigh thousand% easier than trying to paint perfect letters with a tiny little paintbrush. (I've used that method also and it is not my favorite!)

If you are hand-lettering or transferring a design to make your sign, you tin can utilize your paint pen to fill in the penciled design. It's as easy as coloring in a coloring book.

If y'all are stenciling a sign, you tin simply utilize a pigment pen in place of paint to stencil your sign.
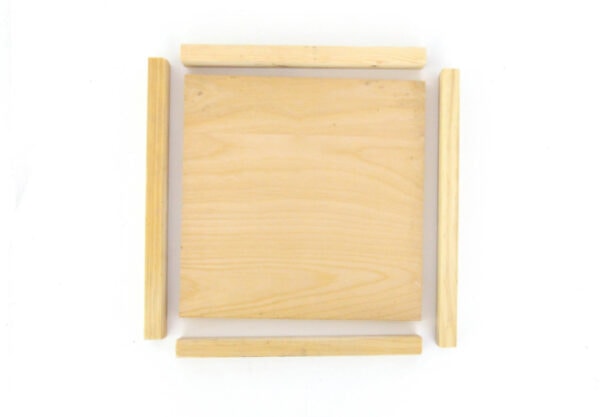
How to frame your sign
When I first started making wooden signs years ago, I never added a frame. Honestly, I wasn't certain how and I idea they looked fine without a frame.
And they did. But I dearest how a simple woods frame makes a DIY sign look truly finished. And it turns out framing a forest sign is really actually easy.
Y'all need a ane″x2″ pine board for your frame. Cutting two pieces the meridian of your wooden sign plus 1.v inches. Cutting two more than pieces the width of your wooden sign.
Utilize 220 grit sandpaper to smooth any crude edges and then use a clean material to stain your sign in the stain of your pick. (I used Minwax dark walnut for this frame.)
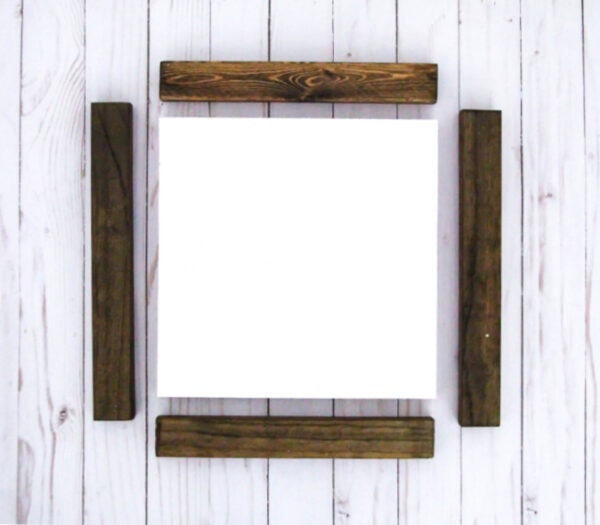
Once the stain has stale, lay your sign pieces out on a apartment surface.
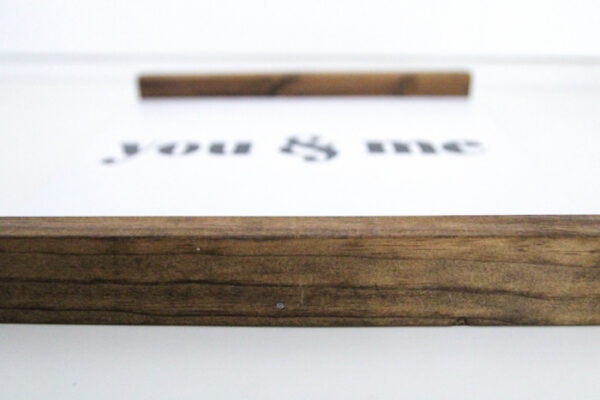
Use some wood gum and a hammer and finishing nails (or a brad nailer if you have one) to attach the peak and lesser frame pieces to the sign.

Ane nail in the centre of each slice is enough for small signs; larger signs may need a couple of nails.
Then attach the two side pieces to the sign using a pair of finishing nails in each corner.
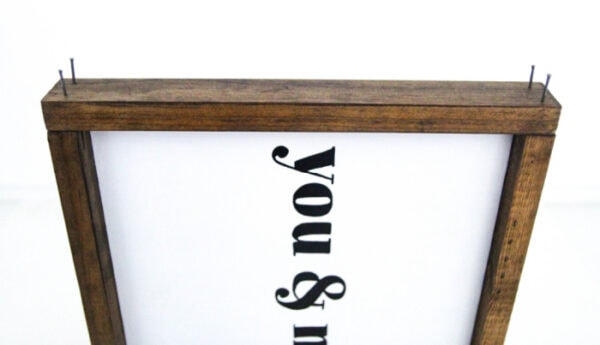
The final step is to attach a sawtooth picture hanger to the back for hanging.

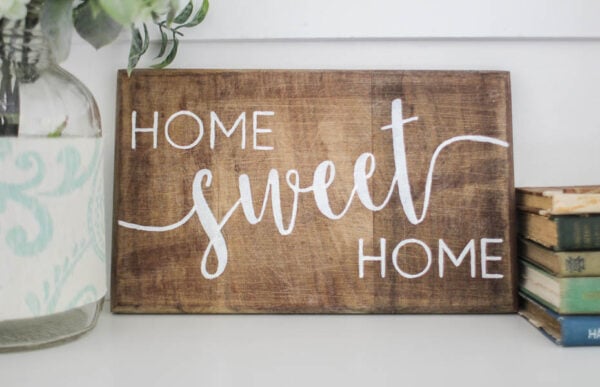
Favorite DIY Wood Signs
Now that yous know everything well-nigh making astonishing wood signs, I idea information technology would be helpful to share a bit of sign inspiration.
Of the dozens of DIY wood signs I've fabricated, these are my favorites. Almost of these signs have a tutorial linked beneath the photo, but there are a few that don't have full tutorials.
Nearly of the tutorials too include either a link to the stencil I used or a printable version of the pattern that you lot can impress at home to make your own sign.
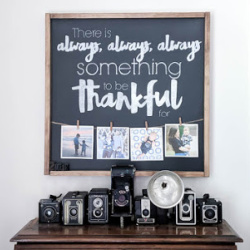
| Sunshine Sign Tutorial |  Thankful Sign Tutorial |  Tutorial in my volume |
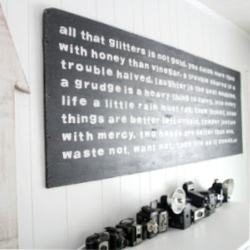 Wise Sayings Sign Tutorial |  Fresh Air Sign Tutorial |  |
 Dwelling Sign Tutorial | 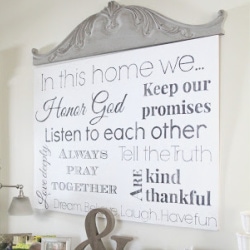 Family Rules Sign Tutorial |  I'll Fly Abroad Sign Tutorial |
 Thankful Sign Tutorial |  Joy Sign Details |  |

I hope you feel completely prepared now to dive into making your own woods signs! And if non, please ask whatsoever questions you may have – I am always happy to aid!
I'd beloved for yous to share this mail on Pinterest!

Materials
- Plywood or other Forest for Sign
- Paint
- Small Foam Paint Roller
- Stencil
- Sharpie oil-based paint pens
- 1″x2″ Pino Lath
- Wood Stain
- Sandpaper
Tools
- Hammer
- Finishing Nails
- Miter Saw
Instructions
- Pigment your plywood base in the color of your choice. Let it dry out.
- Transfer your sign design to your sign base of operations using a pencil transfer or stencil information technology on.
- Make the frame by cutting 2 pieces of the one"x2" the height of your sign plus 1.5".
- Cut two more pieces the width of your sign.
- Smoothen whatsoever crude edges with 220 dust sandpaper.
- Apply a make clean textile to stain your sign in the stain of your selection. Let dry.
- Lay your sign pieces out on a flat surface.
- Attach the top and bottom pieces to the sign with wood glue, a hammer and finishing nails.
- Echo with the two side pieces.
- Attach a sawtooth picture hanger to the back for hanging.
Recommended Products
Every bit an Amazon Associate and member of other affiliate programs, I earn from qualifying purchases.
-

Sharpie Oil-Based Paint Mark, Medium Point, Black & White Ink, Pack of 6
-
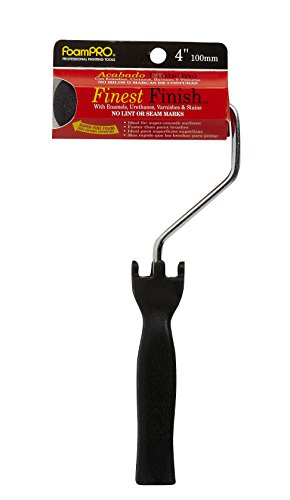
FOAM PRO 184 four" Finest Finish Mini Foam Paint Roller, Pack of 1
-

Metabo HPT Compound Miter Saw, 10-Inch, Unmarried Bevel, 15-Amp Motor, 0-52° Miter Angle Range, 0-45° Bevel Range, Large Table, 10" 24T TCT Miter Saw Blade (C10FCGS)
-

18-Volt ONE+ AirStrike xviii-Judge Cordless Brad Nailer (Tool-Only)
-

ARROW 161000 Small Saw Tooth Picture Hangers (Pack of 6)


Source: https://www.lovelyetc.com/how-to-make-easy-diy-wood-signs/
Posted by: casanovalaugge.blogspot.com
0 Response to "How To Make A Wooden Sink"
Post a Comment